
Creating your own diy boho hanging with yarn is a fantastic way to add a touch of creativity and personality to your space. With just a few simple materials and some basic techniques, you can craft a beautiful piece of wall art that reflects your unique style. Whether you’re a seasoned crafter or new to the world of DIY, this project is easy to customize and can be completed in just a few hours. So gather your favorite yarn colors, grab a hoop or dowel, and let’s get started on making a stunning wall hanging that will be the envy of all your friends.
Supplies required for making a DIY boho hanging with yarn
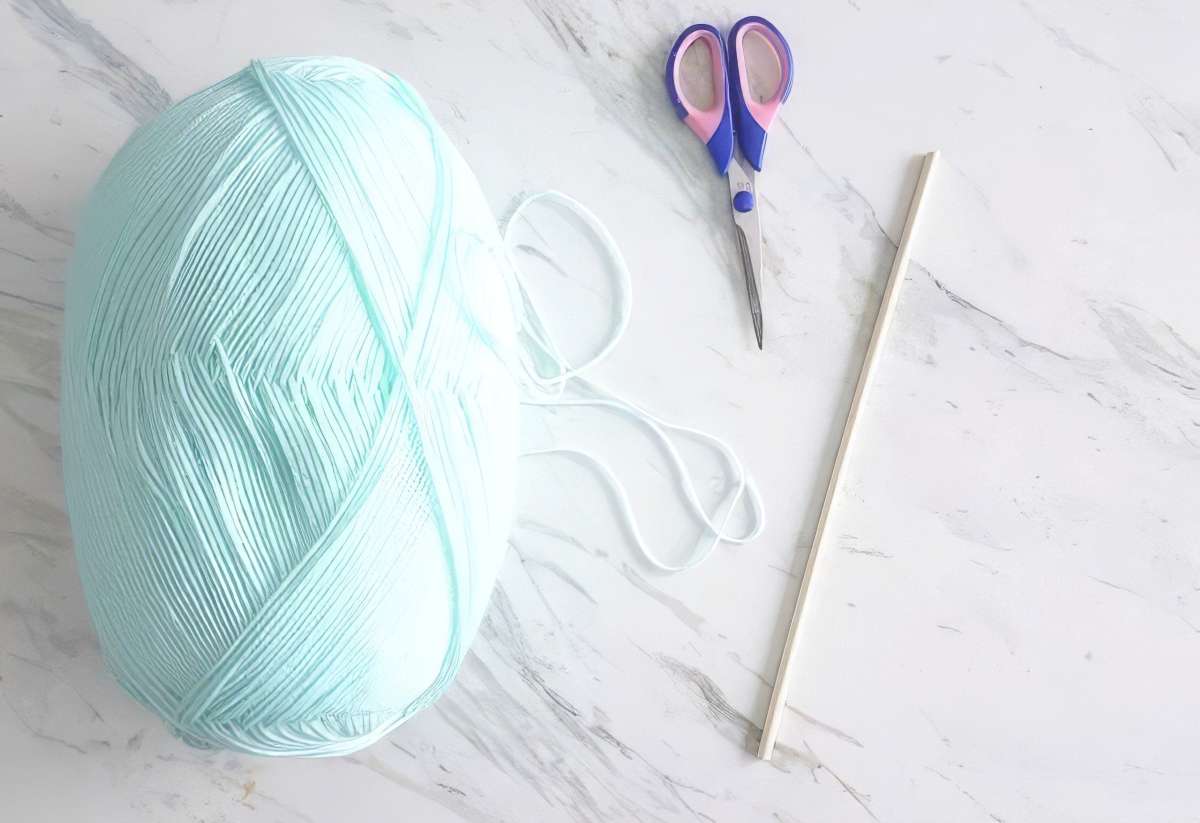
Yarn: Option for yarn in any color of your preference! The thickness of the yarn determines the overall appearance of your DIY wall hanging.
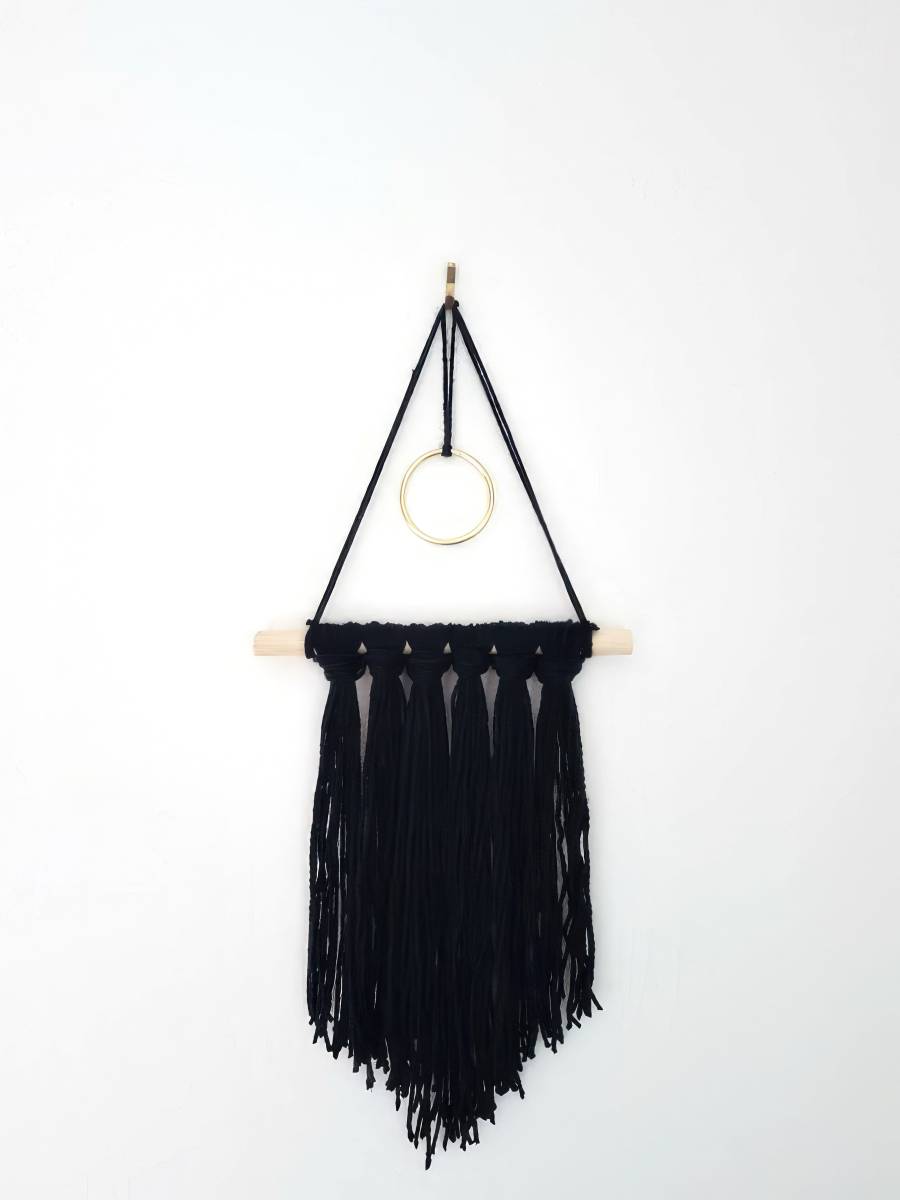
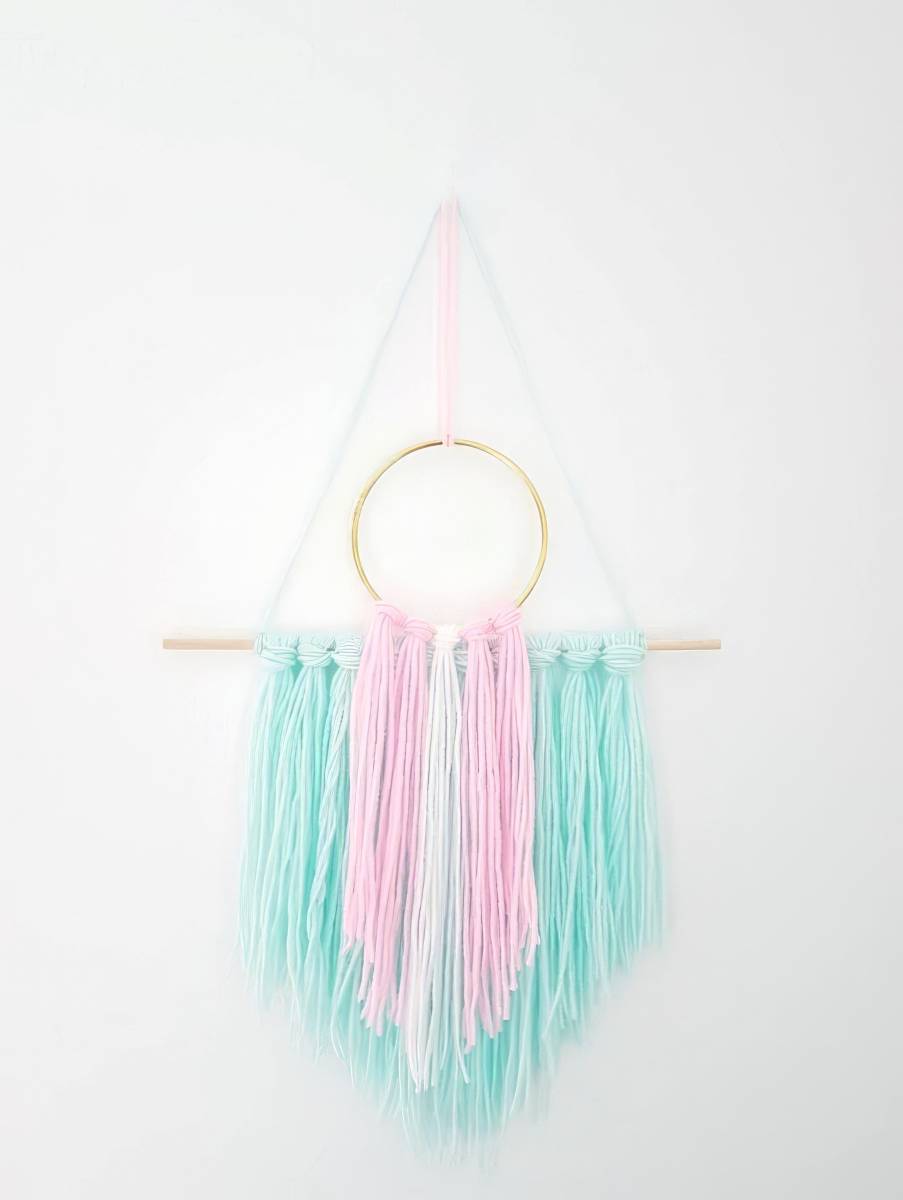
Dowel: Select either a slim 1/4 inch dowel or a thicker 3/4 inch one based on your desired aesthetic. For instance, I utilized a thicker dowel for the black hanging and a thinner one for the mint version shown in the photos below. Ensure the dowel is at least 12 inches in length.
Metal Rings: While optional, I find that incorporating rings adds an enjoyable dimension to the wall hangings. I used brass rings for mine.
Scissors: Keep a pair handy as you’ll need them for trimming and shaping your wall hanging.
Step-by-step guide
Step 1: Prepare your materials
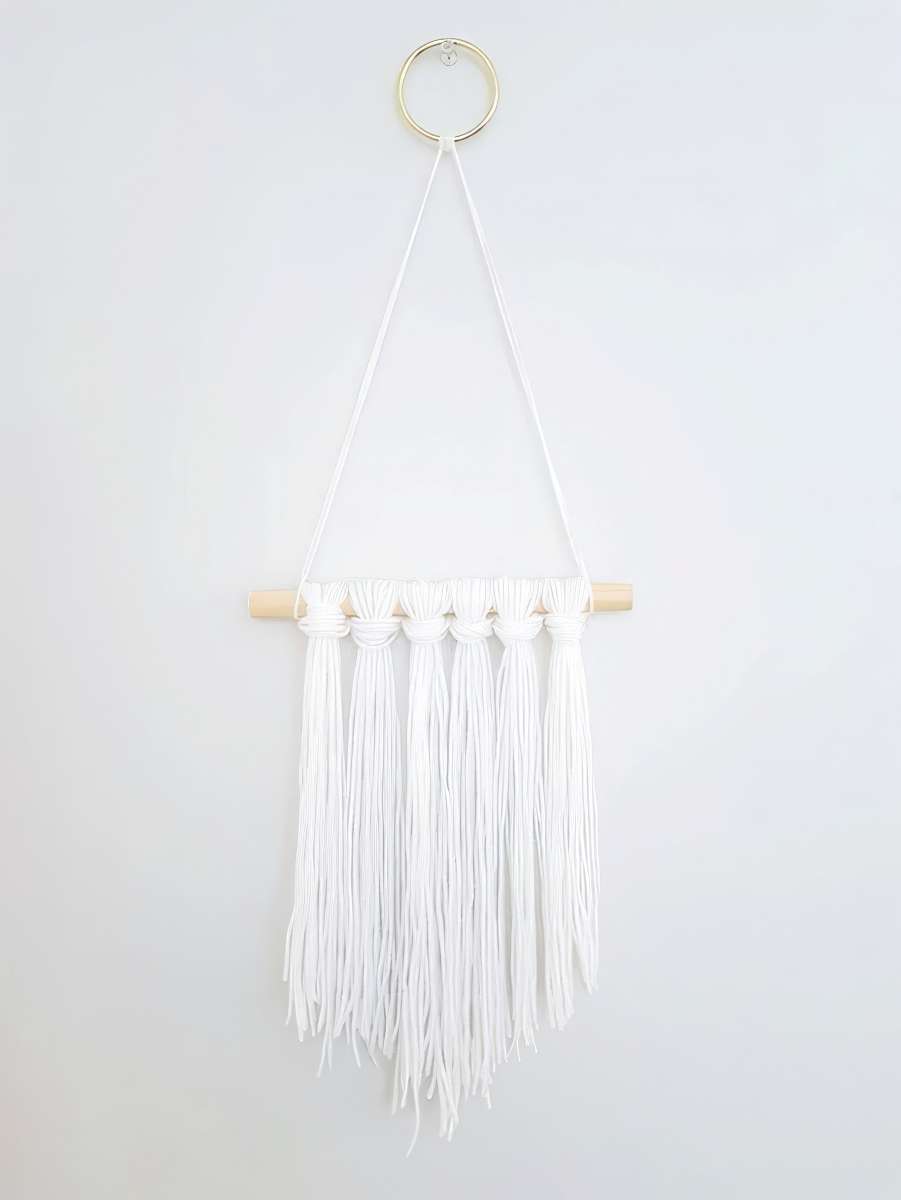
Ensure your dowel, yarn, and scissors are readily accessible. Consider using mint yarn for a similar aesthetic to mine, or opt for chunky black yarn for an equally striking appearance (I experimented with approximately five different colors, as I adored these hangings!). For a natural, boho-inspired look, consider using cream yarn.
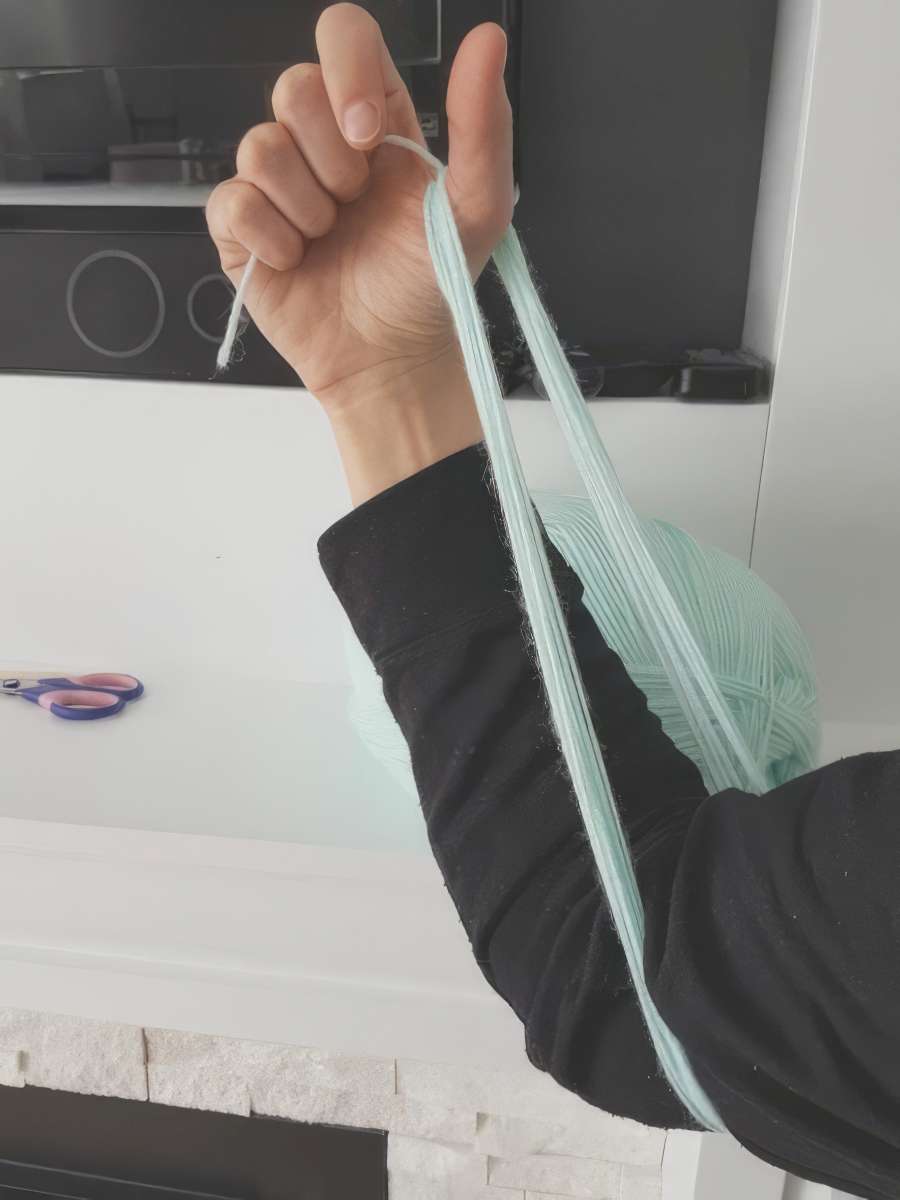
Step 2: Form a loop with the yarn
Begin by taking your yarn and holding the loose end with one hand. Proceed to wrap the skein around your arm, creating a loop. Repeat this process approximately 10 times (adjusting the number if you’re using particularly thick yarn), then cut the string after completing the final loop. Set the skein aside once finished.
Next, take your scissors and trim the remaining yarn that is wrapped around your hand. Essentially, you will end up with 10 pieces of yarn, all cut to the same length. Remember to keep them folded in half for the subsequent step.
Step 3: Tie the yarn onto the dowel
The yarn segment you’ve just cut will serve as your initial yarn knot on the dowel.
To execute this step, it’s best to refer to the accompanying photos for guidance.
Start by folding your yarn in half and positioning your dowel on top. Then, pull the ends of the yarn through the top loop, ensuring to pull it down firmly to form a secure knot.
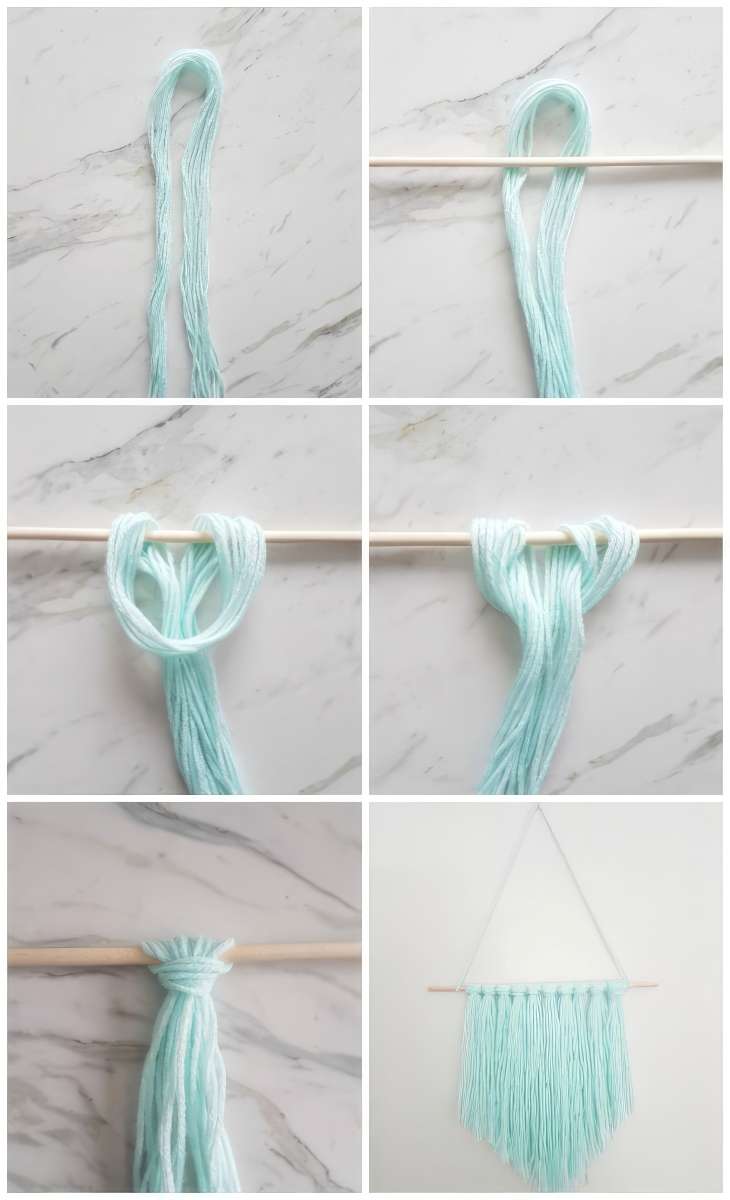
Step 4: Continue filling the dowel with yarn knots
Repeat steps 3 and 4 as necessary to fill up your dowel, ensuring to leave some space on either end. The number of knots required depends on the thickness of your yarn: thicker yarn will necessitate fewer knots, while thinner yarn (such as the mint yarn in my example) will result in more knots. For instance, I used a total of 10 knots for the mint DIY wall hanging.
Step 5: Establish a hanging loop
Now, take a length of yarn and cut it to size. Tie it to either end of your dowel, ensuring to leave sufficient slack in the piece so that it can hang securely. For added strength, consider doubling up the yarn.
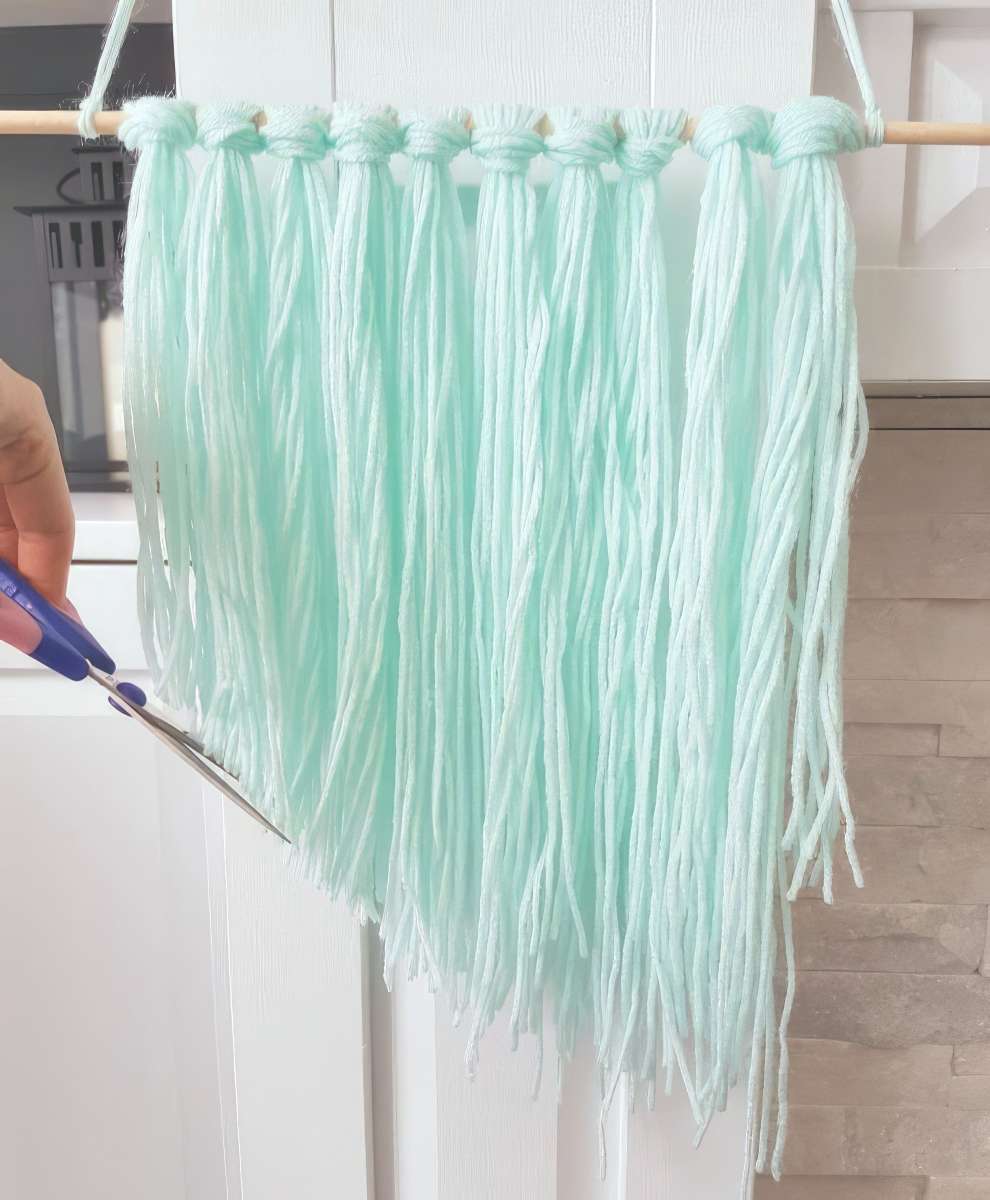
Step 6: Trim the excess yarn
Now comes the enjoyable part. Hang up your newly crafted wall hanging, grab your scissors, and start trimming. I prefer the symmetry of having it longer in the middle and gradually shortening towards the sides. Locate the middle knot (or two middle knots if you used an even number), then begin cutting upwards from there. Don’t worry about achieving perfection right away. Start by cutting small amounts and gradually even out the lengths as you proceed.
Step 7: Add embellishments
You have the creative freedom to embellish these wall hangings as you see fit. I experimented with incorporating brass metal rings into my designs, adding a playful touch to the hangings. You can utilize these rings to create loops for hanging purposes.
or, you can suspend the ring itself using an additional piece of yarn.
Or even make a mini DIY wall hanging on the brass ring and layer it on top of your original wall hanging.
Absolutely! You can get creative by braiding some of your yarn or incorporating small beads. Personalizing your wall hangings adds an extra touch of fun.
If you find this article interesting, don’t hesitate to visit our DIY Handicraft Tips for more creative ideas.

Yummy chocolate pudding dessert recipe
Grilled chicken avocado salad


