
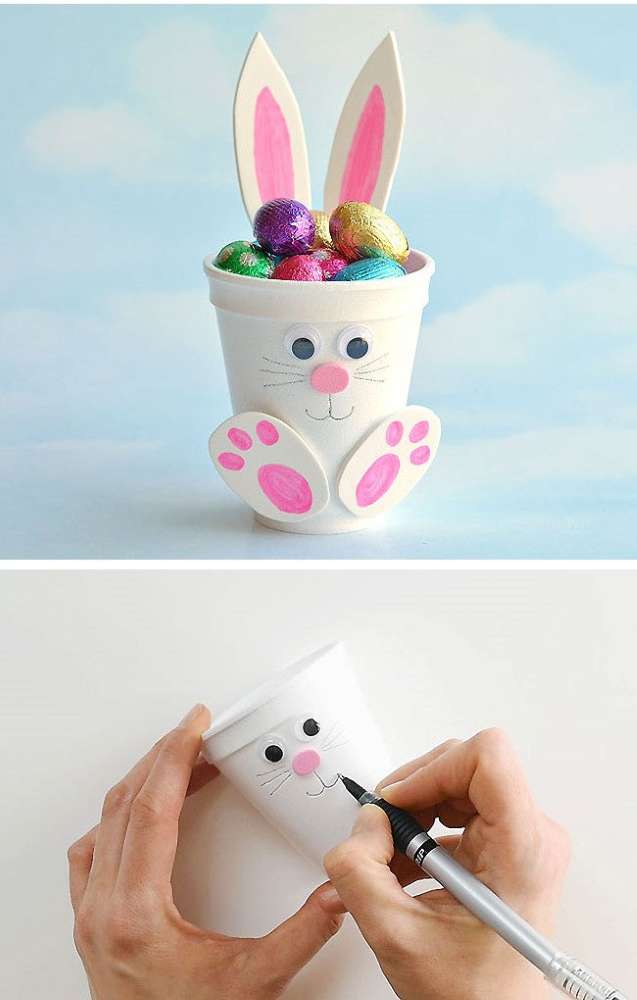
These foam cup bunnies are absolutely adorable and incredibly simple to create! I adore the versatility of making these charming creatures. Whether you opt for a paper cup, thick paper, or even small white Dixie cups, the choice is yours. Simply use whatever materials are most convenient for you. Crafting each foam cup bunny typically takes around 5 minutes, or perhaps 10 minutes if you’re working with children. This means you can quickly and easily produce a multitude of them in a short period of time.
How to make foam cup bunnies
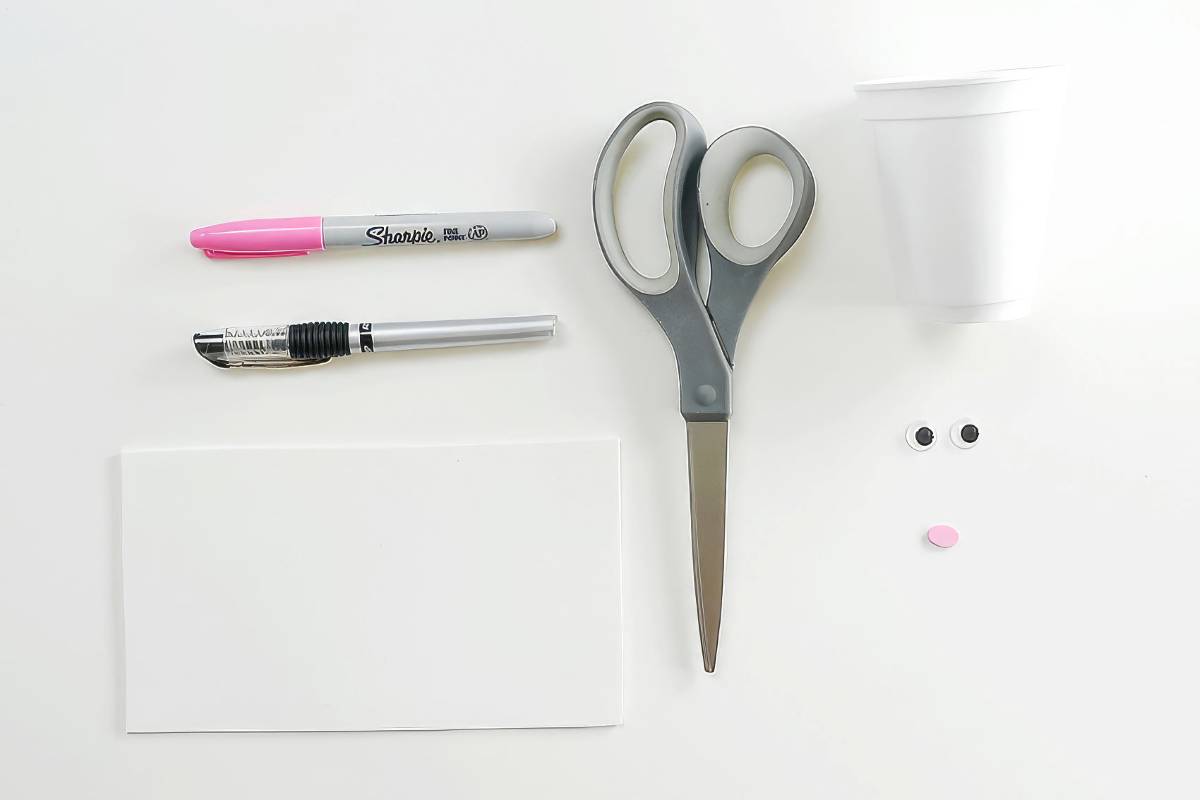
Here’s a guide on creating foam cup bunnies. Below is a list of the materials you’ll need. The affiliate links provided will direct you to similar products on Amazon:
- White cup (either Styrofoam or paper cups will suffice)
- 2 Googly Eyes
- White and Pink Craft Foam
- Black Gel Pen
- Pink Sharpie
- Scissors
Feel free to use any type of white cup for this project. If white paper cups aren’t available at your local dollar store, regular Styrofoam cups can be used instead.
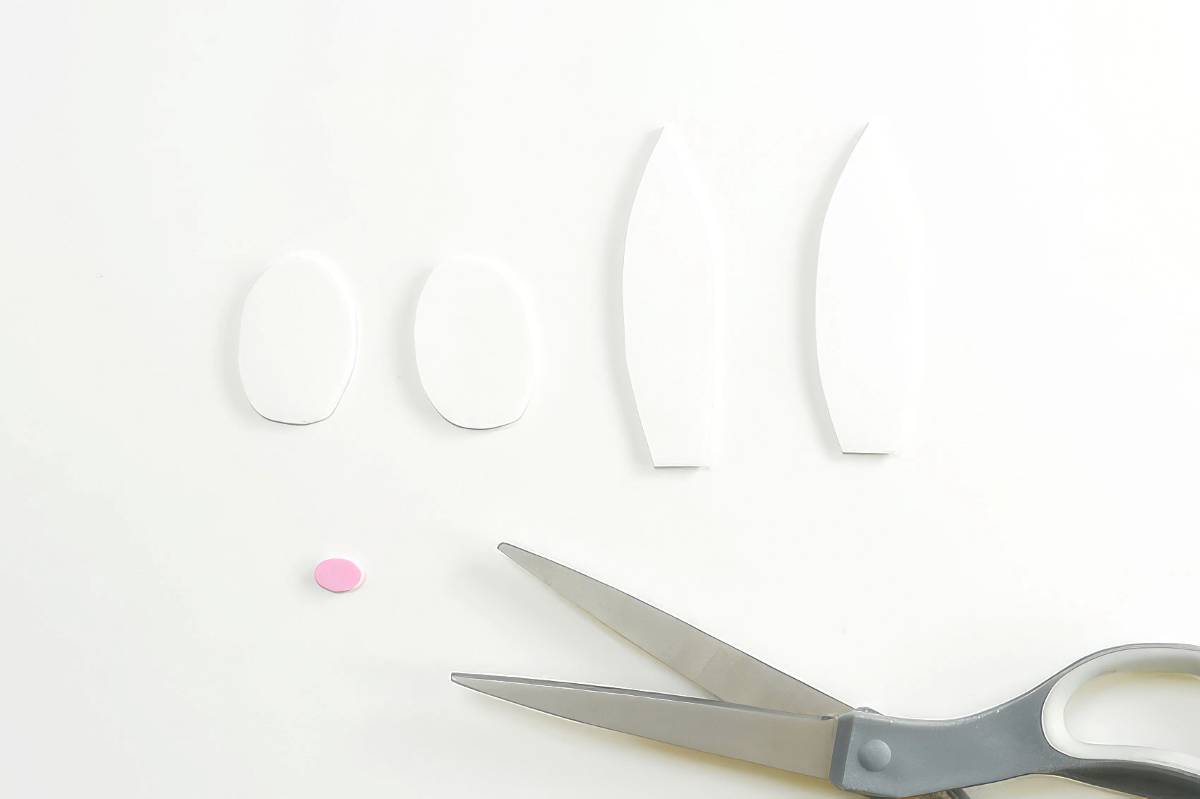
Trim the craft foam into shapes for the bunny’s ears and feet – cut out two oval shapes for the feet and two elongated, pointed ear shapes for the ears. Additionally, cut out a small pink oval for the nose. Craft foam was chosen for its durability on the foam cup bunny, but card stock can be used as an alternative. Either material will suffice, so opt for whichever you find most convenient.
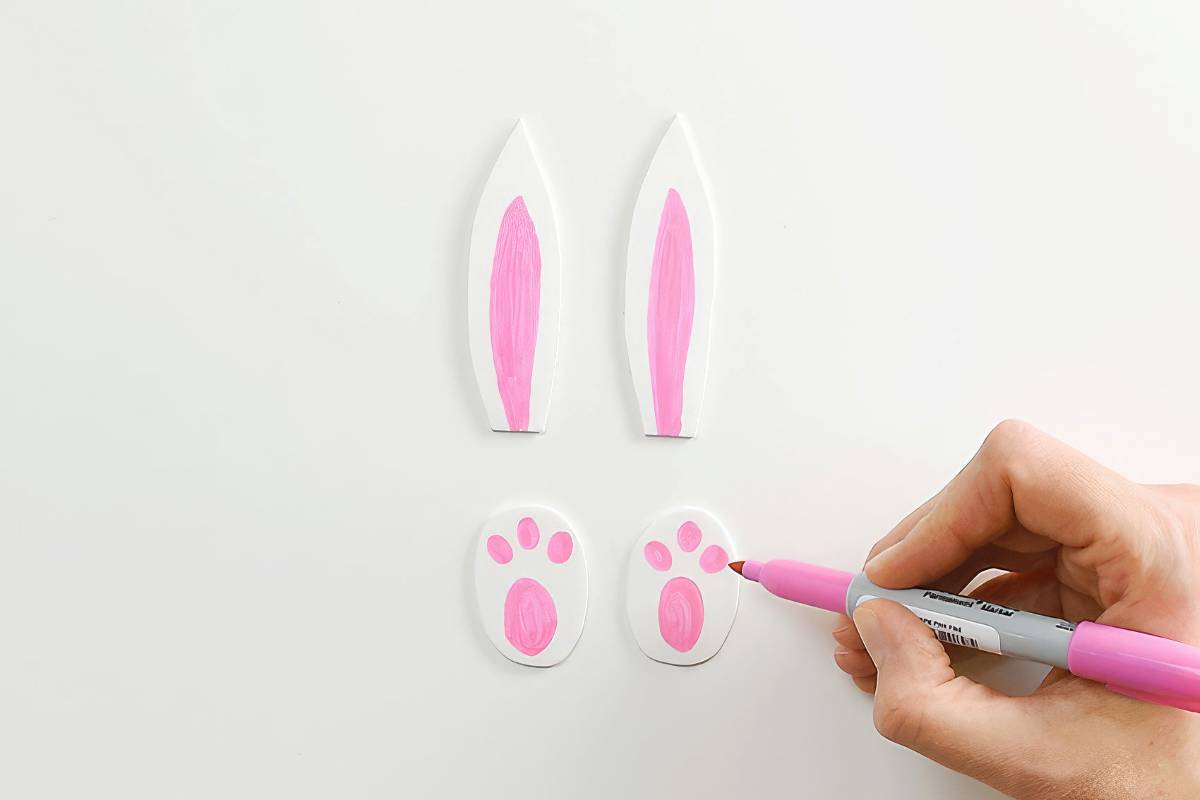
Employ a pink Sharpie to color the ears and feet. Alternatively, a pink washable marker can be used, but be cautious as washable markers may smudge slightly on craft foam. Sharpies are preferred as their ink stays in place with no smudging once dry.
What kind of glue should you use?
If you’re using a Styrofoam cup, I suggest using a hot glue gun for optimal adhesion. The hot glue bonds quickly and securely, minimizing the risk of pieces falling off.
Alternatively, you can use white glue to attach the pieces, although you’ll need to wait patiently for it to dry. Since you’re adhering foam to foam, there’s a possibility that the pieces may not stick as firmly.
A low-temperature glue gun, which can often be found at dollar stores, is a suitable option, especially if you’re working with children. Many children enjoy the responsibility of using a glue gun and take pride in being trusted with it. However, it’s essential to assess each child’s ability and supervise them accordingly.

Looking back, I’m considering whether using a black Sharpie instead of a black gel pen would have been a better choice for drawing the face onto the cup. What’s your opinion?
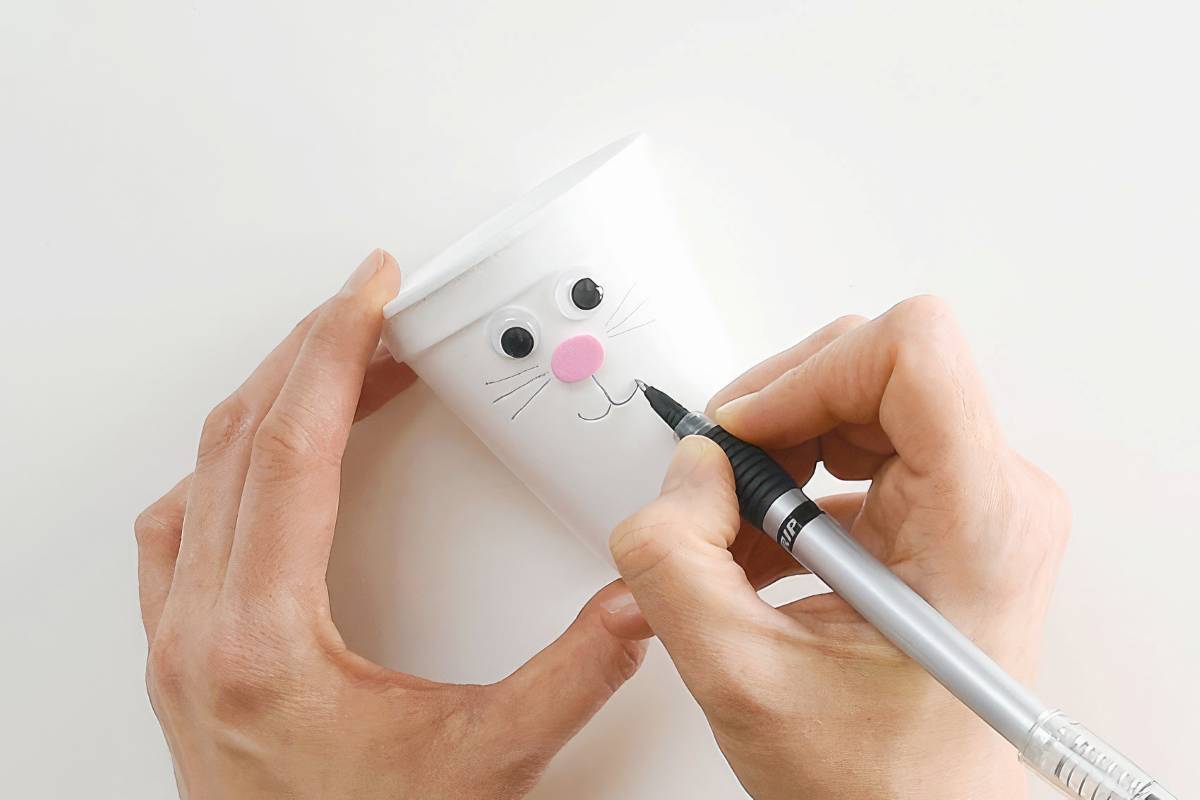
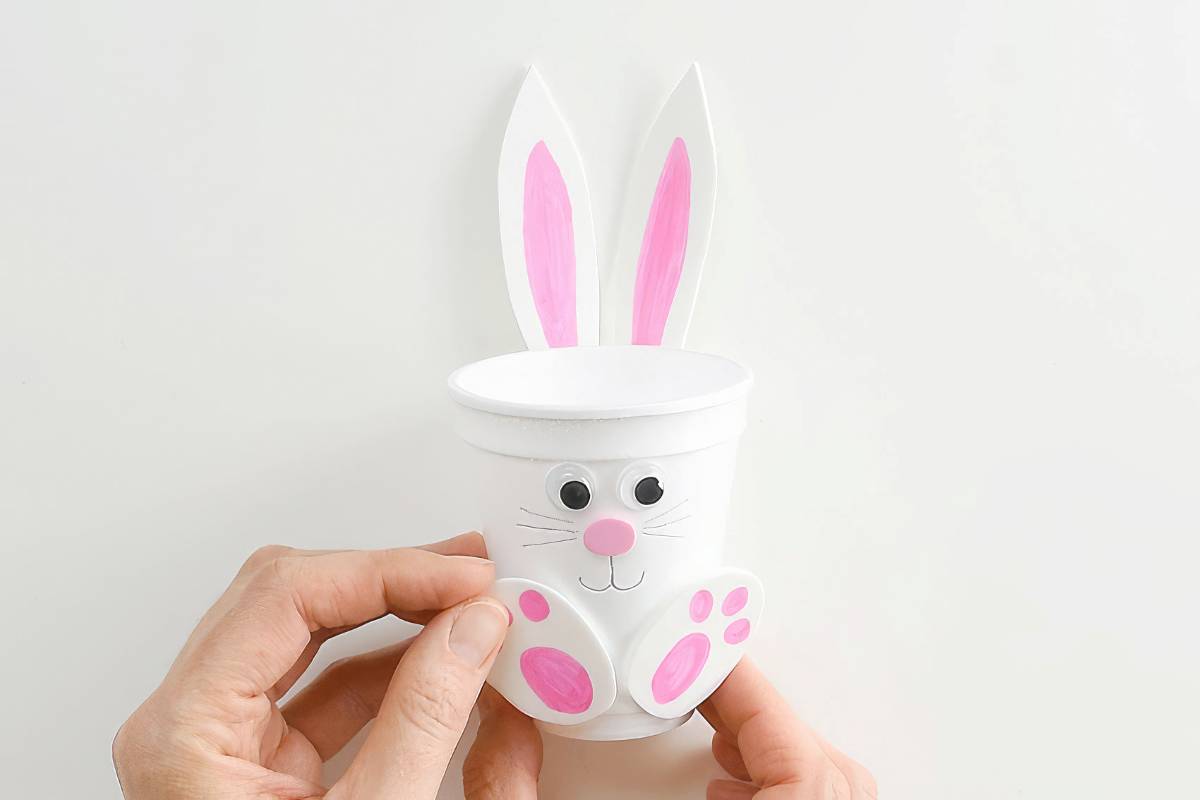
Attach the eyes, nose, ears and feet to the cup using a glue gun.
What can the bunny cup be used for?
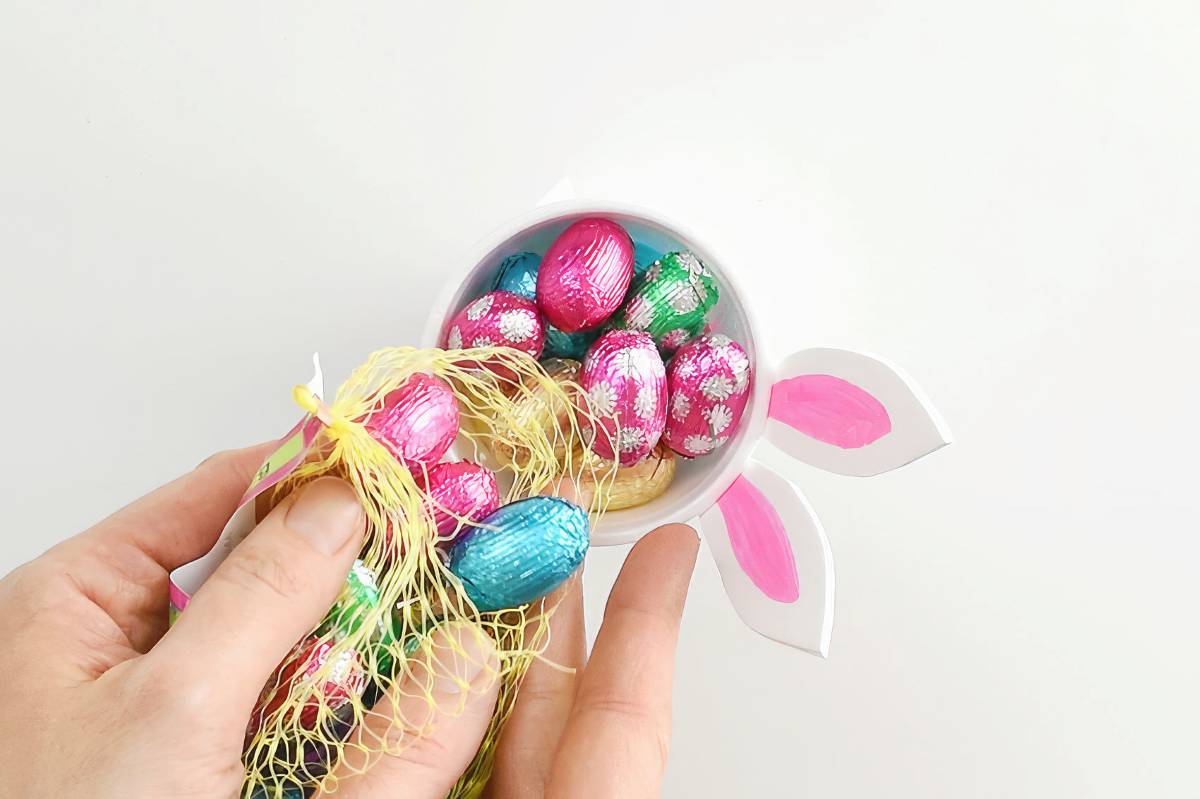
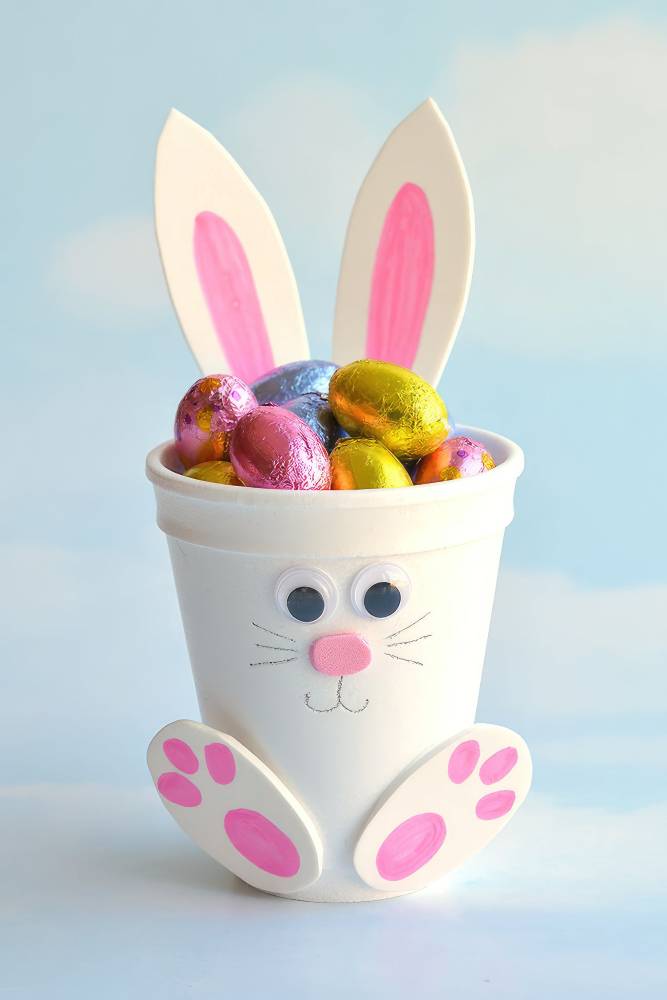
Lastly (and perhaps most importantly…), fill your cup with treats! I filled ours with foil-covered chocolate eggs from the dollar store, but you can fill them with whatever you prefer! M&M’s would be fantastic. Alternatively, Mini Eggs or even Easter Creme Eggs would be delightful. Any small candy will work wonderfully.
If you’d like to reduce the amount of candy you’re giving, consider making your bunnies smaller by using white Dixie cups instead of full-size foam cups. Dixie cups are less than half the size of foam cups. You could also fill your cups with Easter grass and only add a small amount of candy on top.
Alternatively, you can forgo candy altogether and fill the cups with small toys, such as erasers, pencils, markers, or even Lego pieces.
They are cute, right?
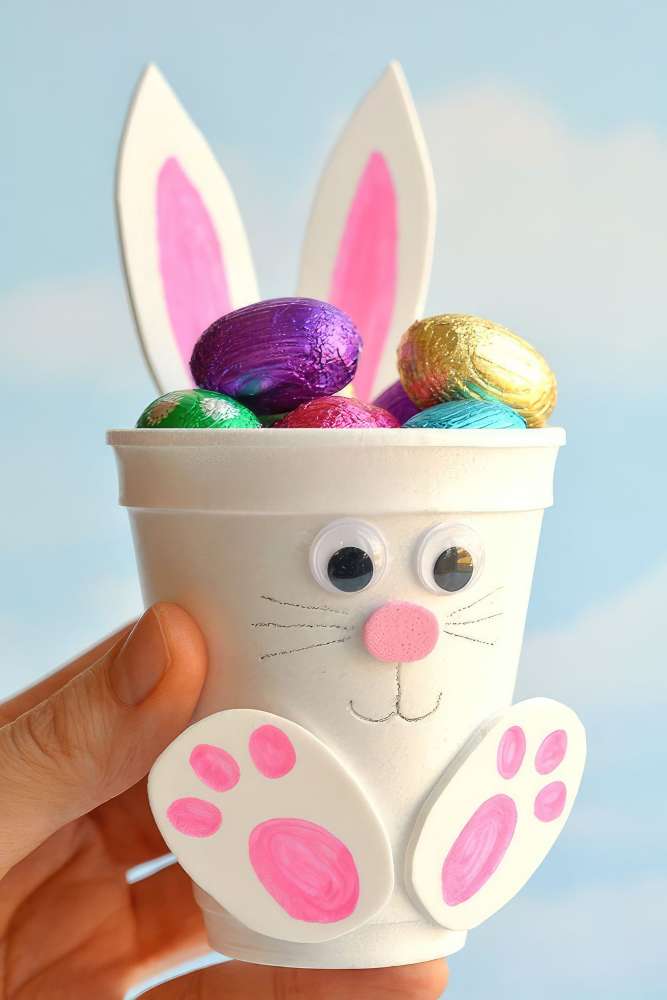
They would make a delightful addition to the Easter table! You could create one for each place setting as a charming party favor for your Easter guests.
You could even turn them into little planters! Fill your cup with soil, plant a seed inside and watch it grow. If you like this DIY tutorial, be sure to check out our Handicrafts blog for more fun tips.

Easy to make DIY pressed flower suncatchers
Crafting a DIY pom pom rug


